
In this short guide, we will discuss about how to install MongoDB Atlas and build in some collection in Windows. MongoDB is a very popular database used by millions of companies and users. There are variety of MongoDB Version’s based on your requirement. MongoDB Atlas is a cloud database which you can access anywhere in the world.
We will discuss more about MongoDB Atlas in the end. Let’s start with install process.
Set up MongoDB Atlas
Visit here and then register yourself to use MongoDB Atlas

I am using Google Account for registering. After Sign Up, you will see below page

Read and accept Privacy Policy / Terms of Services and then click submit Button. We highly recommend to read their policies and terms then click on Submit.
After all above steps, you will see below page
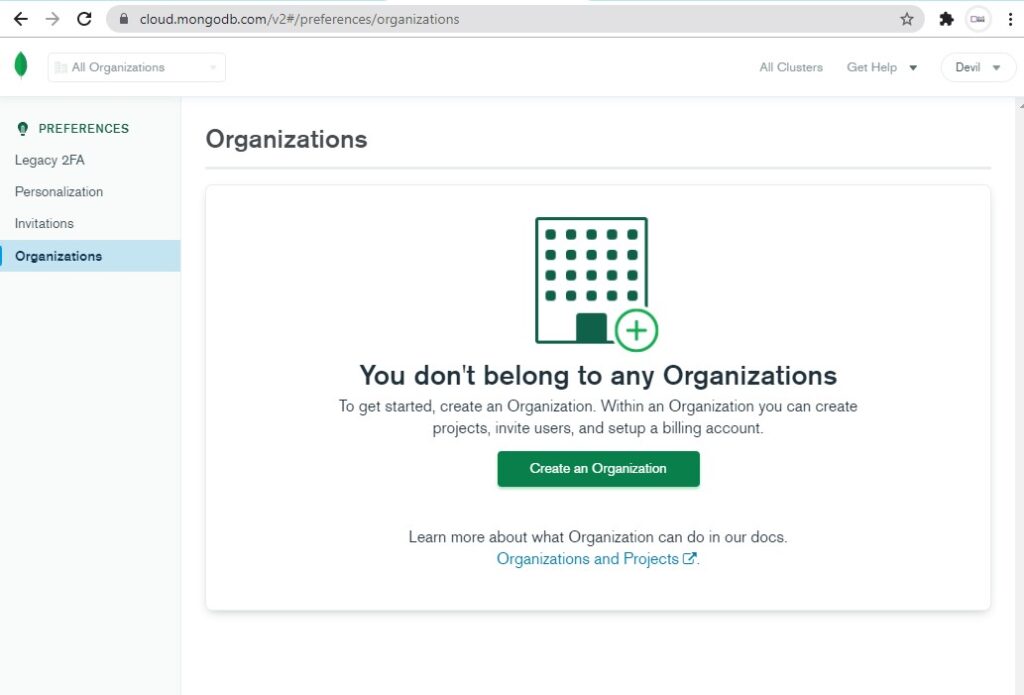
Click on create organization and then you will see organization form

Fill your organization name (Any name) and then select MongoDB Atlas. In the bottom, you can see Next button. Click on that button then you will see

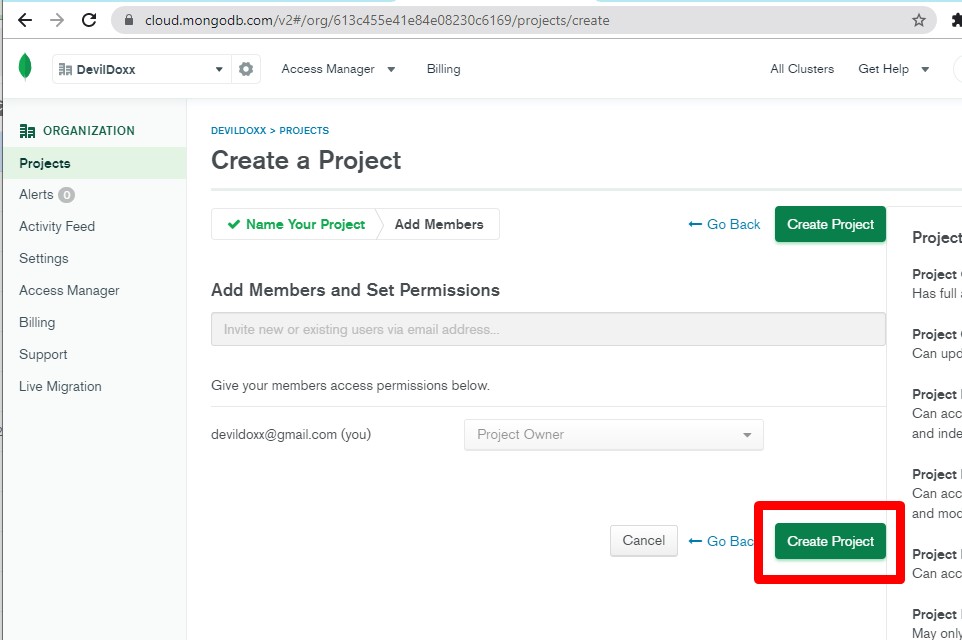
Now simply click on Create organization and then wait for next page. You will be redirect to Project page. Click on Create Project and then fill project form as shown below

On Click Next you will see permission page for your project. Simply click Create Project Button as shown in below screenshot.
You will see Database Deployment page when you click on Create project.

Build a Database in MongoDB Atlas
Click on Build a Database then select your cloud database type. I select shared as it is only for tutorial

Click on Create and then it will start creating your cluster. It will ask to configure your cluster as shown below

Configure as per your requirement. I selected all default and then click on Create Cluster
It will take some time to deploy a new cluster. You will be redirect to Database Deployment Page again.

You can see one info message “We are deploying your changes”. It can take 5 to 10 minutes to create a new cluster.
Once your cluster is created then you will see your cluster as shown below

We are done with the installation process of MongoDB Atlas.
Connect to your MongoDB Cluster
on Connect button use this cluster for creating collection in your MongoDB Client . You can use MongoDB Compass and then start working.
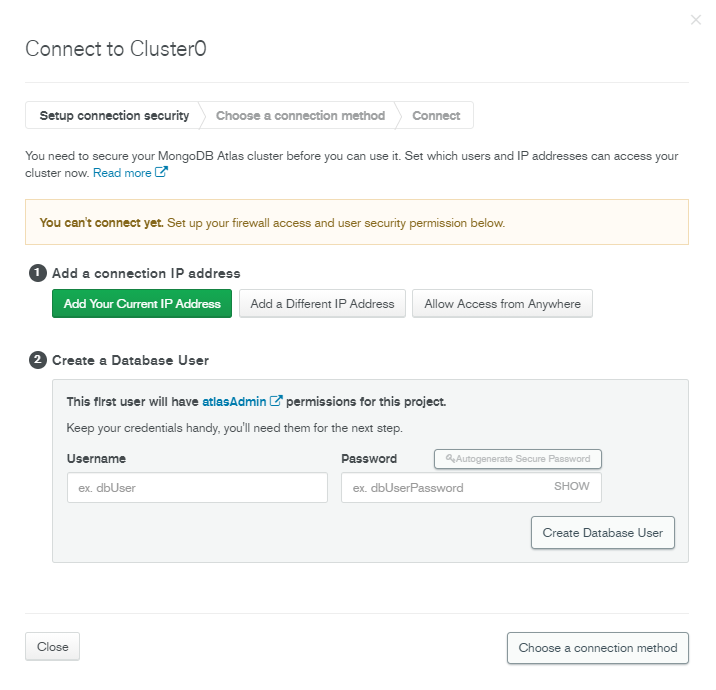
Choose Connection IP address as per your requirement . I select my current IP but you can select as per your need. Create Your Database User and then click on Choose a connection method.
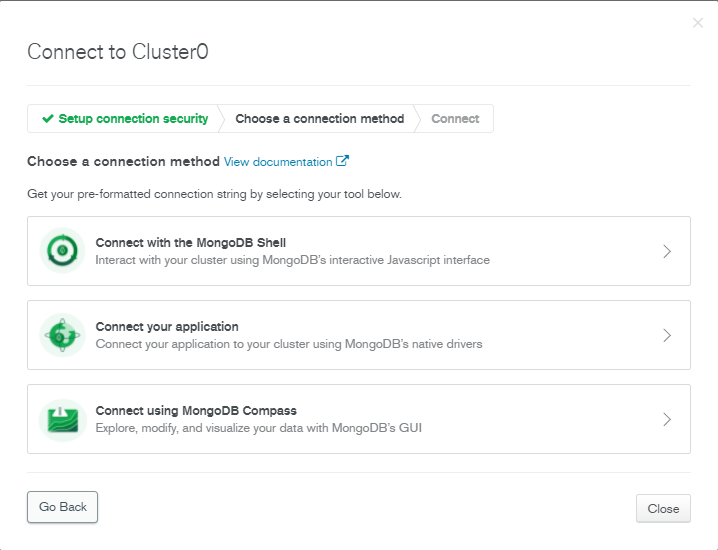
I prefer to use MongoDB Compass. Now you can start using MongoDB Cloud. In next article we will discuss about create collection in MongoDB Atlass till then you can contact here for any query